Supabase CLI
Develop locally, deploy to the Supabase Platform, and set up CI/CD workflows
The Supabase CLI enables you to run the entire Supabase stack locally, on your machine or in a CI environment. With just two commands, you can set up and start a new local project:
supabase initto create a new local projectsupabase startto launch the Supabase services
Installing the Supabase CLI
Run the CLI by prefixing each command with npx or bunx:
1npx supabase --helpYou can also install the CLI as dev dependency via npm:
1npm install supabase --save-devUpdating the Supabase CLI
When a new version is released, you can update the CLI using the same methods.
If you have installed the CLI as dev dependency via npm, you can update it with:
1npm update supabase --save-devIf you have any Supabase containers running locally, stop them and delete their data volumes before proceeding with the upgrade. This ensures that Supabase managed services can apply new migrations on a clean state of the local database.
Backup and stop running containers
Remember to save any local schema and data changes before stopping because the --no-backup flag will delete them.
123supabase db diff -f my_schemasupabase db dump --local --data-only > supabase/seed.sqlsupabase stop --no-backupRunning Supabase locally
The Supabase CLI uses Docker containers to manage the local development stack. Follow the official guide to install and configure Docker Desktop:
Alternately, you can use a different container tool that offers Docker compatible APIs.
- Rancher Desktop (macOS, Windows, Linux)
- Podman (macOS, Windows, Linux)
- OrbStack (macOS)
- colima (macOS)
Inside the folder where you want to create your project, run:
1supabase initThis will create a new supabase folder. It's safe to commit this folder to your version control system.
Now, to start the Supabase stack, run:
1supabase startThis takes time on your first run because the CLI needs to download the Docker images to your local machine. The CLI includes the entire Supabase toolset, and a few additional images that are useful for local development (like a local SMTP server and a database diff tool).
Access your project's services
Once all of the Supabase services are running, you'll see output containing your local Supabase credentials. It should look like this, with urls and keys that you'll use in your local project:
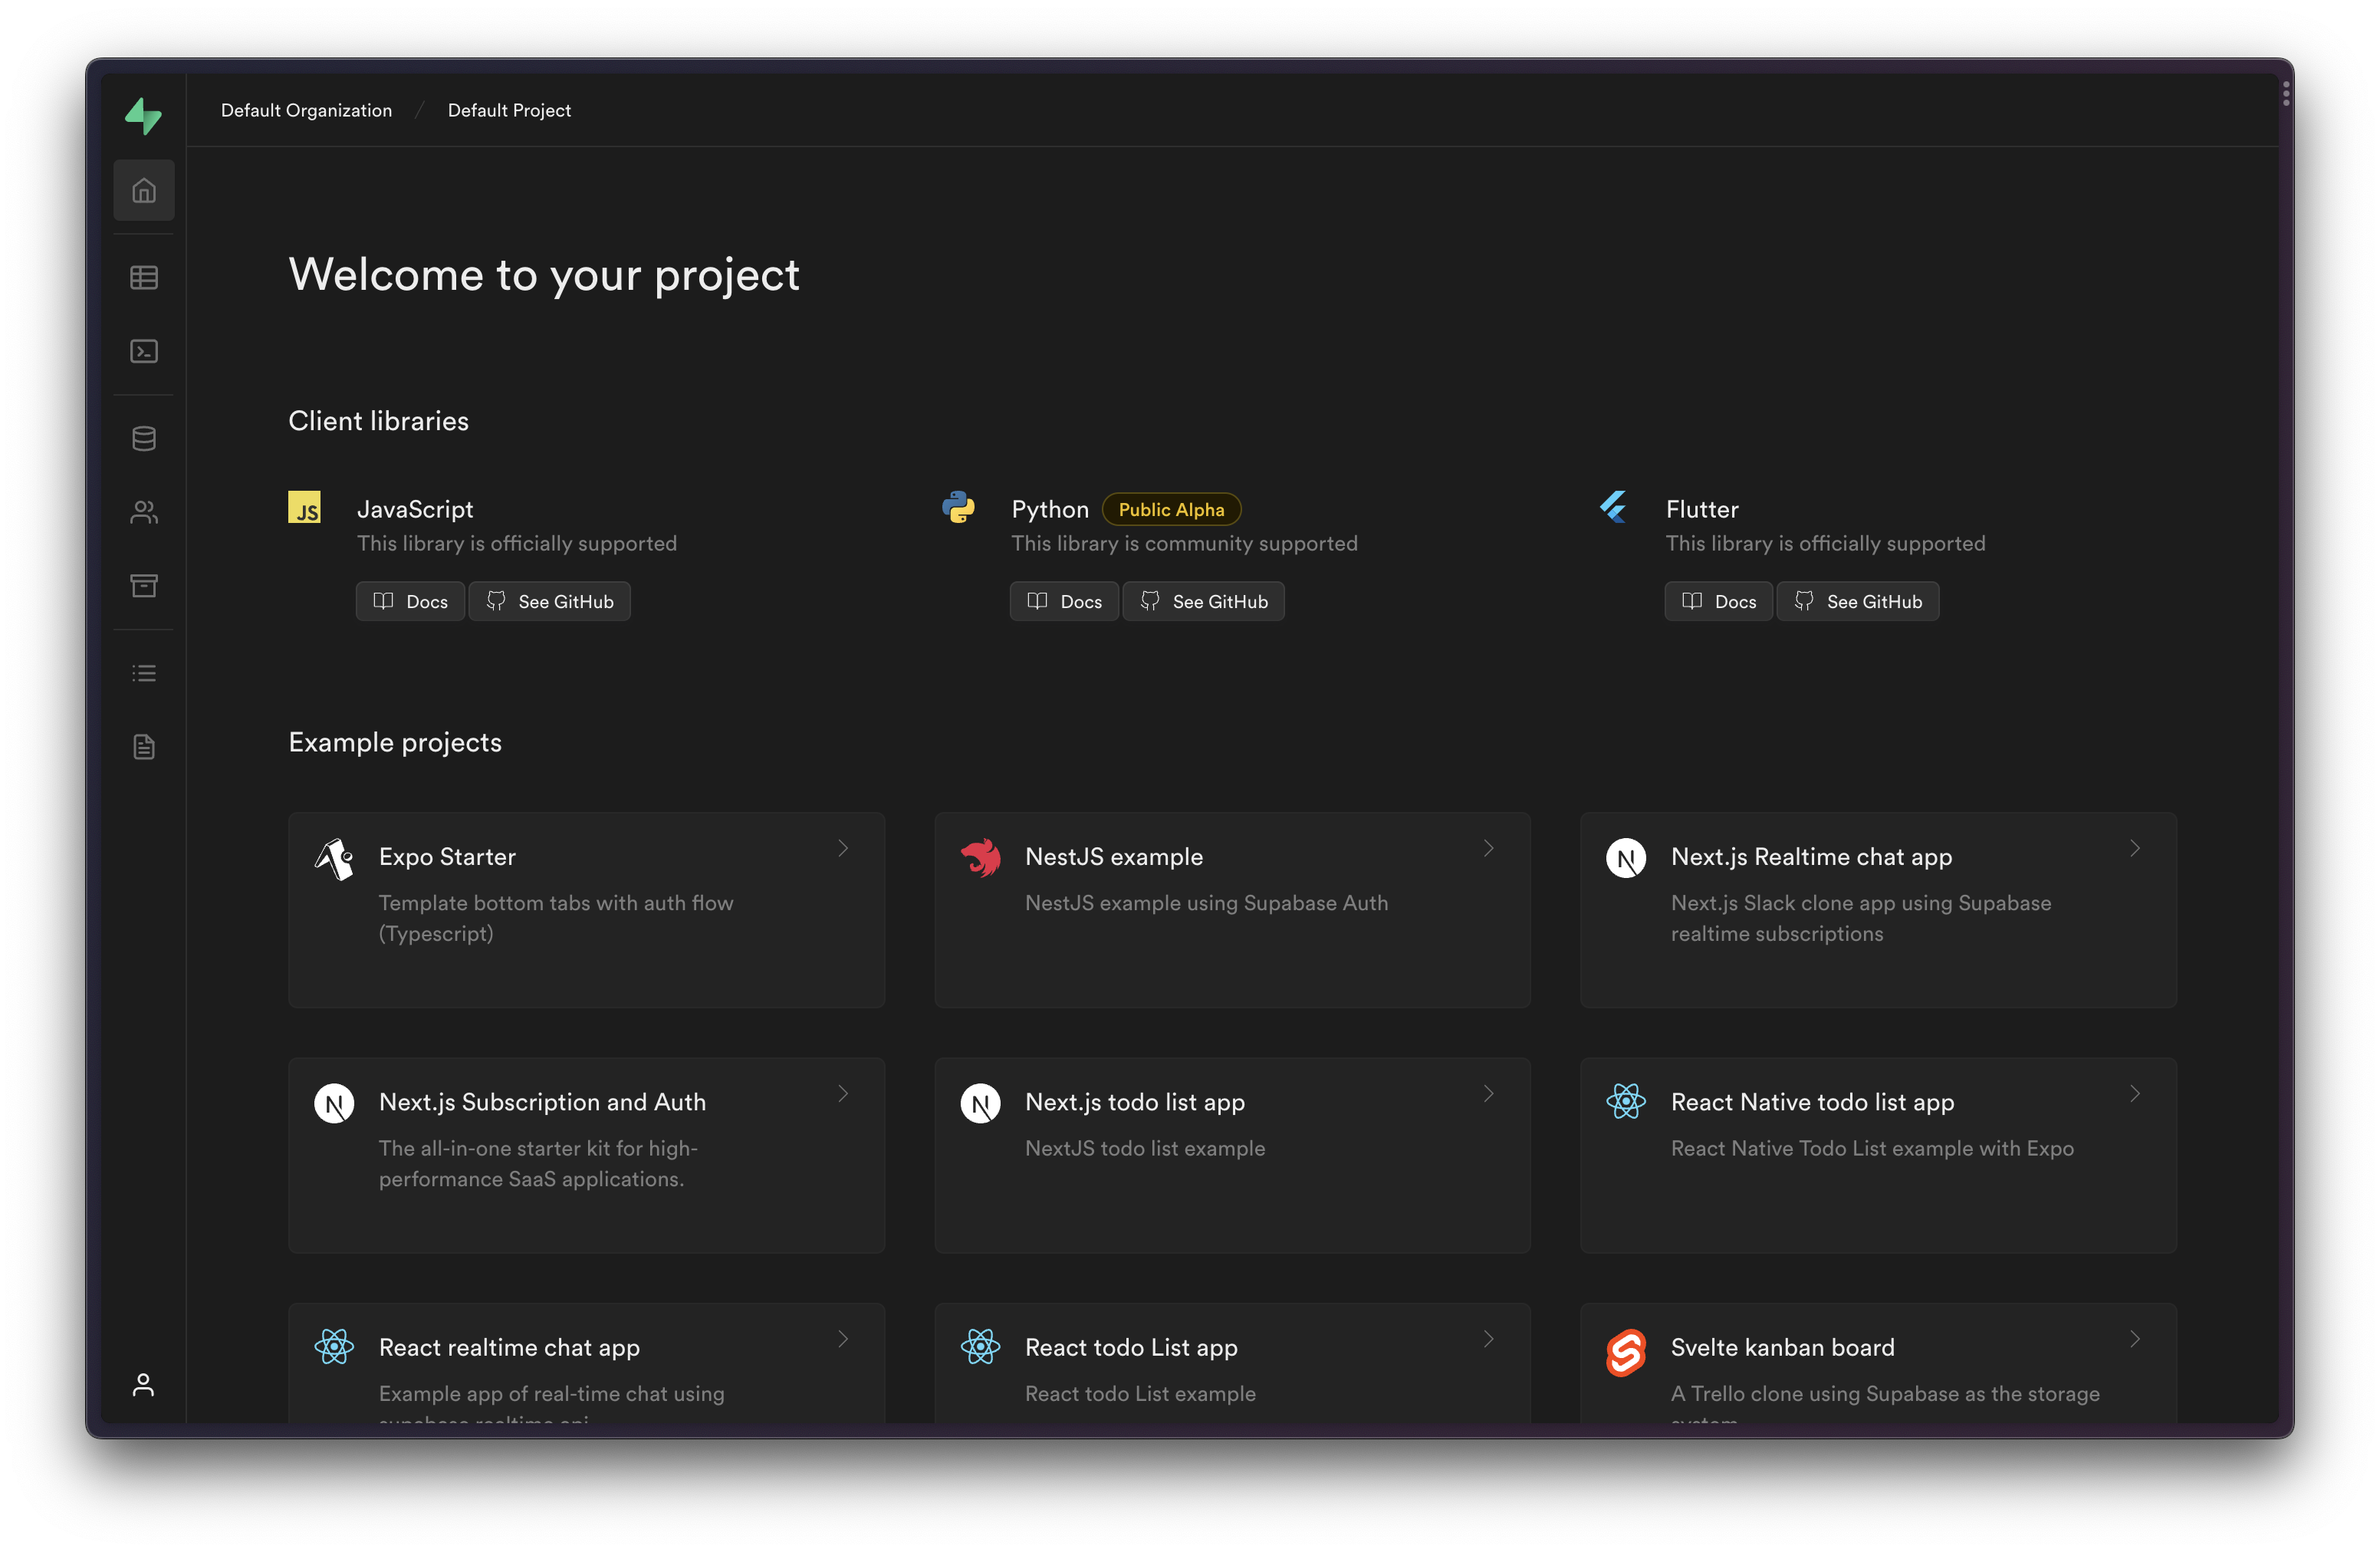
12345678Started supabase local development setup. API URL: http://localhost:54321 DB URL: postgresql://postgres:postgres@localhost:54322/postgres Studio URL: http://localhost:54323 Mailpit URL: http://localhost:54324 anon key: eyJh......service_role key: eyJh......12# Default URL:http://localhost:54323The local development environment includes Supabase Studio, a graphical interface for working with your database.

Stopping local services
When you are finished working on your Supabase project, you can stop the stack (without resetting your local database):
1supabase stop